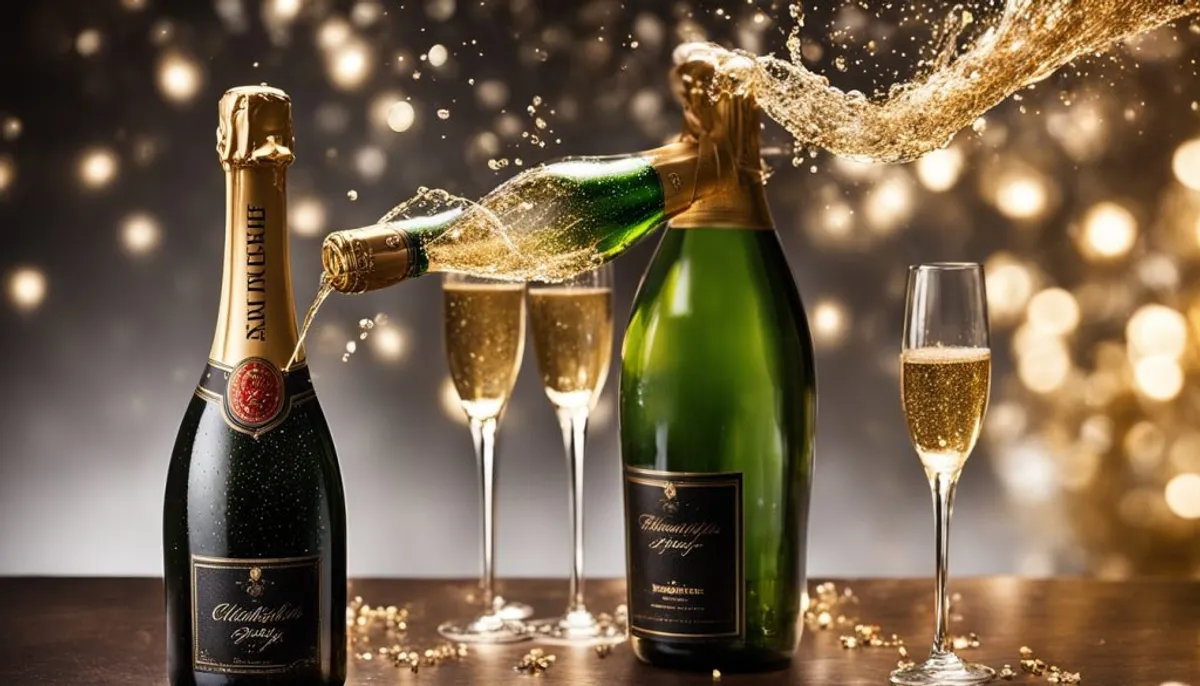
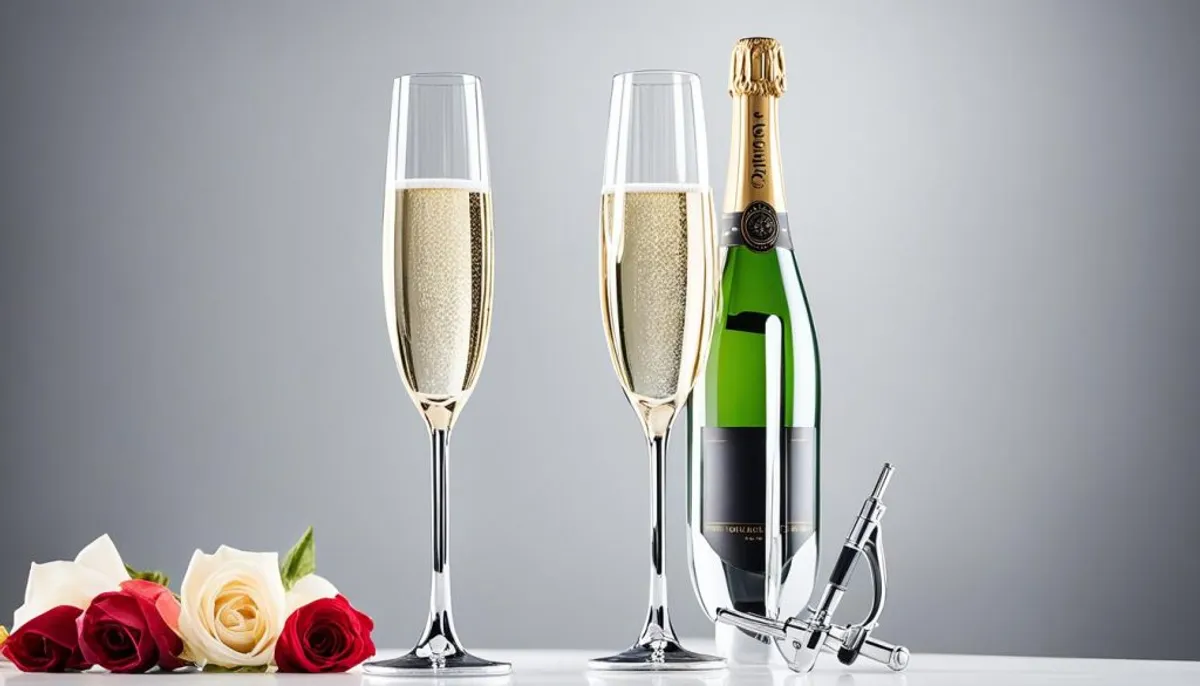
Have you seen those amazing photos where champagne bottles spray everywhere? They’re often at weddings or graduations. Maybe you’ve tried this yourself and your results weren’t as great. But there’s a secret. Here are some tips for photos with amazing champagne sprays.
Choosing the right bottle is key. Any brand of champagne will work. Look for cost-effective options. You might want to use Sparkling White Grape Juice by Welch’s. It’s good for trying the shot many times. Cook’s is another option for an affordable sparkling wine. To make it look fancier, you can change the bottle labels. Or you can use sparkling water instead of soda for the sake of the planet.
Think about a few things before doing a champagne shot. For senior photos at your school, make sure it’s okay to use alcohol on campus. Also, keep in mind that champagne can make a mess. So, it’s best to do this outside in a place that can get messy. Wherever you do it, clean up after yourself. Pick up any trash, including corks and wires, so you leave nothing behind.
Key Takeaways
- Explore cost-effective options like Sparkling White Grape Juice and inexpensive sparkling wine for champagne photography
- Consider using sparkling water for an environmentally-friendly alternative to sugary beverages
- Check campus policies before attempting champagne popping on a “dry campus”
- Ensure a clean, tidy shoot by properly disposing of all champagne-related waste
- Master the technique of angling the bottle and controlling the spray for the perfect champagne fountain shot
What Type of Champagne Should You Use?
Choosing your champagne doesn’t have a wrong or right choice for great effects. Any brand you choose will look the same in photos. Yet, there are many affordable choices available. For a cheap option, you can go with Welch’s Sparkling White Grape Juice or a similar brand. This is ideal if you need many bottles for multiple shots.
Sparkling White Grape Juice
Sparkling White Grape Juice offers a low-cost, alcohol-free choice to champagne. It still gives your photos the fun, bubbly look. Using this means you can try different shots without spending too much.
Inexpensive Sparkling Wine Options
If looking for a budget sparkling wine, Cook’s is a recommended brand. Cook’s California Champagne Brut costs around $7.99. It gives off the visual appearance of champagne without the expensive price tag.
Swapping Labels for a High-End Look
Switching labels on bottles can make your setup seem more upscale. This trick boosts your champagne photos’ look without the need to buy expensive drinks.
Sparkling Water as an Alternative
Using sparkling water avoids the sticky issues of sweet drinks. It provides a clear, clean look that’s perfect for the bubbly effect in photos. This is a great and low-cost alternative to other beverages.
Considerations for Champagne Photo Shoots
Before starting your champagne photo shoot, consider some key points. If you’re shooting on a college campus, first know the rules. Check the campus policies for champagne photography to avoid trouble with security.
Checking Campus Policies
Some colleges don’t allow alcohol, even for photos. Learn the campus guidelines ahead of time. This saves you from problems during your shoot.
Cleaning Up After the Shoot
Remember, cleaning up after a champagne shoot is crucial. Since champagne is sticky, pick an outdoor spot for easier cleanup. Wherever you shoot, always clean up corks and caps. This shows respect for the place you used. Additionally, using carbon champagne f1 can enhance the visual appeal of your photos, making them even more memorable.
The Secret to Popping Bubbly Like a Pro
Want to know how to get that flashy champagne fountain shot? Here’s what you do: Open the bottle gently. Use a towel to catch the cork or find a twist top. Cover the opening with your thumb, then shake it like a mad man. Release some of the pressure by removing your thumb slightly (like turning on a hose) and after the initial spray, cover it again. Tilt the bottle away from yourself as you do this. It’s all about timing to capture the perfect photo!

Setting Up Your Lighting
To begin, ensure your natural lighting for champagne photos is just right. Use bright, indirect sunlight if you are outdoors. Indoors, find a big, bright window. This setup is a good start for great pictures. A single, bright window can work wonders for your photos. When I’m taking simple champagne shots, I prefer light from the side. Putting your table near a window will maximize natural light capture.
Not having daylight available doesn’t mean you’re stuck. LED lights are cheap and simple. Start with just one and learn to use it well. Then, you can try more artificial lighting for champagne photos.
Selecting the Right Glassware
Choosing the right glass is key. Think about how each glass will make your drink shine. Consider the volume, design, and height of the glass. Also, think about how it looks with any extras, like a liquor bottle. A long-stemmed glass might be perfect to match the bottle’s height. This shows the importance of looking at the scale when setting up your shot.
Champagne glass shapes matter a lot. They help keep the bubbles alive and funnel scents towards your nose. This makes the drink flavorful. A coupe glass‘ wide bowl helps the drink breathe, making flavors and scents stronger. Flutes keep bubbles longer, great when serving more than one drink. Tulip glasses let the champagne breathe while keeping the bubbles in.
| Glassware Type | Ideal Use | Bubbles Preservation |
|---|---|---|
| Non-vintage Champagne Flute | Excellent | Excellent |
| Vintage Champagne Coupe | Moderate | Moderate |
| Champagne Tulip | Aromatic Champagne | Good |
Keeping champagne cold is important for less foam and a lighter taste. Opening a champagne bottle requires some care. Tilt the bottle, remove the foil, then gently release the cork. This prevents a mess. When pouring, tilt the glass or pour slowly to reduce bubbles and foam.
These tips are key in picking the best champagne glass. They help you enjoy the drink more by enhancing its taste and scent.
Choosing the Best Camera Angle
When taking a photo, consider the scale and the angle. A natural 45-degree angle often makes drinks look their best. Imagine you’re sitting at a table looking at your drink. Head-on shots at table level are great too. They show the drink clearly without any distortion. These angles bring a sense of elegance to the photo.
45-Degree Angle
A 45-degree angle works well for champagne photos. It’s like you’re seeing it from where you sit, giving a natural look.
Head-On Angle
Shooting champagne head-on at table level looks elegant. It shows the glass exactly as it is, without warping.
From-Below Angle
To add drama, try shooting from beneath the table at champagne. This angle works well with taller glasses or garnishes. It makes the photo stand out.
Top-Down Angle
A top-down view can be stunning for champagne photos. It makes a beautiful, minimalistic composition. This view can really highlight the drink.
Try out these angles to see which one works best. Don’t hesitate to try something new. Unique angles often lead to the most impressive champagne photos.
Composing and Styling Your Shot
Use a tripod to compose your picture. It’s best to use a tripod at the start. This is because things can look very different in person compared to the camera. Set up the scene with empty glasses to plan ahead.
Preparing Garnishes
Begin by making your garnishes. Yes, this is the first step. Preparing the garnishes before the drinks means you can see how they look in the photo. Sometimes, a garnish looks different once on the glass. Spend time to make each garnish look perfect. Try different sizes and shapes. A small mint sprig might be right for one drink, while a big bouquet is better for another.
Positioning Garnishes
Think about the angle of the garnish with the camera. Place the garnish so it looks good and natural towards the camera.

How to Take Champagne Photos
To get the best champagne photo, pay close attention to detail and use a few key skills. You need to understand focusing, depth of field, and how to manage reflections. Also, it’s important to know the right fill line for your glass.
Focusing and Depth of Field
For the clearest shot, use a tripod and manual focus. This works whether you’re capturing the bottle, the glass, or a fancy garnish. Control the depth of field by adjusting your aperture. A wide aperture, such as f/2.8, makes the background blurry, giving you a cool bokeh effect.
Managing Reflections
Reflections in champagne photos can be a good thing or a bad thing. Carefully place your lights and adjust the scene to avoid unwanted reflections. Using a polarizing filter can also help reduce glass glare.
Determining the Fill Line
How much champagne is in the glass really matters for the picture. Try different fill levels. You want to show off the bubbles and keep it looking elegant.
Adding Ice
Adding ice can make your photo look cooler and more refreshing. But, be careful. Ice changes the fill line and may create unwanted reflections.
Advanced Techniques
As you get better at champagne photography, learning advanced tricks can really improve your pictures. You should focus on two main things: making bokeh effects and using continuous lighting for when you’re capturing champagne pours and splash shots.
Creating Bokeh Effects
Bokeh is the soft, blurry part behind the main focus of your photo. It makes your champagne photos look dreamy and professional. To get great bokeh, use a long lens like an 85mm or 105mm. Then, pick a wide aperture, like f/2.8. This setup will make the main object, like a champagne bottle, stand out clearly against a soft, blurry background.
Using Continuous Lighting
Continuous lighting works well for catching champagne splashes and pours. It’s better than a camera flash because it shows the full movement of the liquid in one picture. This way, you can capture the perfect moment when the champagne is splashing. Use LED panel lights or softboxes that won’t break the bank to keep your scene well-lit.
Capturing Splashes and Pours
Champagne splashes and pours can make your photos really stand out, especially when capturing elegant champagne flatlays. With the perfect lighting and camera setup, you can freeze that exciting moment in a photo. Try different techniques and shooting angles to really show off the champagne in your shots.
Conclusion
In this guide, we’ve explored how to take amazing champagne photos. We discussed everything from selecting the perfect bubbly and glass to getting the lighting and angles just right. With a few key skills and some practice, you can start capturing moments with bubbly like a pro.
Don’t forget to enjoy the process and try out new things to see what suits your style. Cheers!
The essential tips for champagne photos were to use burst mode and quick shutter speeds. It includes utilizing natural light and setting your camera to manual. Focus on the photo’s setup and how you pose plus add some editing at the end. These steps are key to making your champagne shots stand out.
Whether it’s a big celebration or you just love food and drink photos, these tips will raise your champagne photography game. So, get out there, open some sparkling wine, and capture its special sparkle.
FAQ
What type of champagne should I use for my photos?
You can pick from several good choices that won’t break the bank. Sparkling White Grape Juice works well, especially if you need to take the photo more than once. Cook’s is a solid option if you’re looking at sparkling wines that are budget-friendly. For a more upscale feel, consider changing the labels on bottles.
You can also use sparkling water for a sugar-free alternative.
What should I consider when doing a champagne photo shoot?
If your shoot location is on a “dry campus,” be cautious to prevent any trouble. Bear in mind that champagne and sparkling juice can make a mess. It’s best to shoot outside in a spot that won’t be ruined by stickiness.
Always remember to clean up properly after your shoot, removing any debris or leftover drink materials.
How do I properly pop the champagne bottle for the best photos?
To start, open the bottle carefully with a towel wrapped around the cork. This is to catch the cork safely as you remove it.
Next, place your thumb over the opening, shake the bottle well. Then, release some pressure to let the bubbles fly. Aim the bottle away from people and fragile items.
What type of lighting should I use for champagne photos?
For the best photos, choose a spot with natural light that’s bright but indirect. This setup makes for a great photo background. If indoor, consider soft side lighting from windows.
With artificial light, start by working with one single LED source to control the lighting well. Mastering one light source first is key before adding more.
What kind of glassware should I use for champagne photos?
Think about what drink you’re highlighting and its ideal glass. Consider the glass’s volume, design, and how it interacts with other props. Tall glasses work great to create elegance and balance in your photo.
What are the best camera angles for champagne photos?
Aim for a 45-degree angle to capture your drink, making sure to highlight those instagram-worthy champagne shots. This angle mimics the view from someone sitting at a table.
Shooting directly down or from just under this spot adds a unique touch. Top-down shots offer another creative perspective.
How should I compose and style my champagne photo shoot?
Start by setting your camera on a stable tripod. This is crucial for a sharp, clear photo. Arrange your garnishes before shooting to see the best spot for them.
Try different garnish placements and angles, including elegant champagne flatlays. This will help you find the most pleasing look for your photo.
RelatedRelated articles


