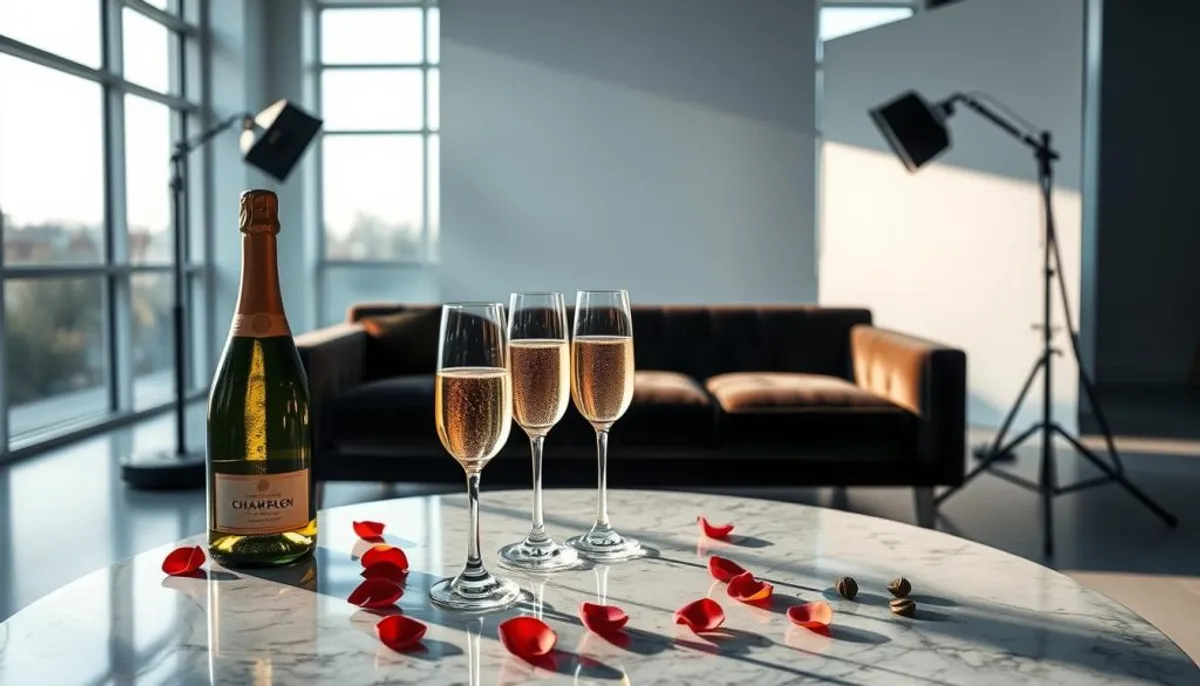
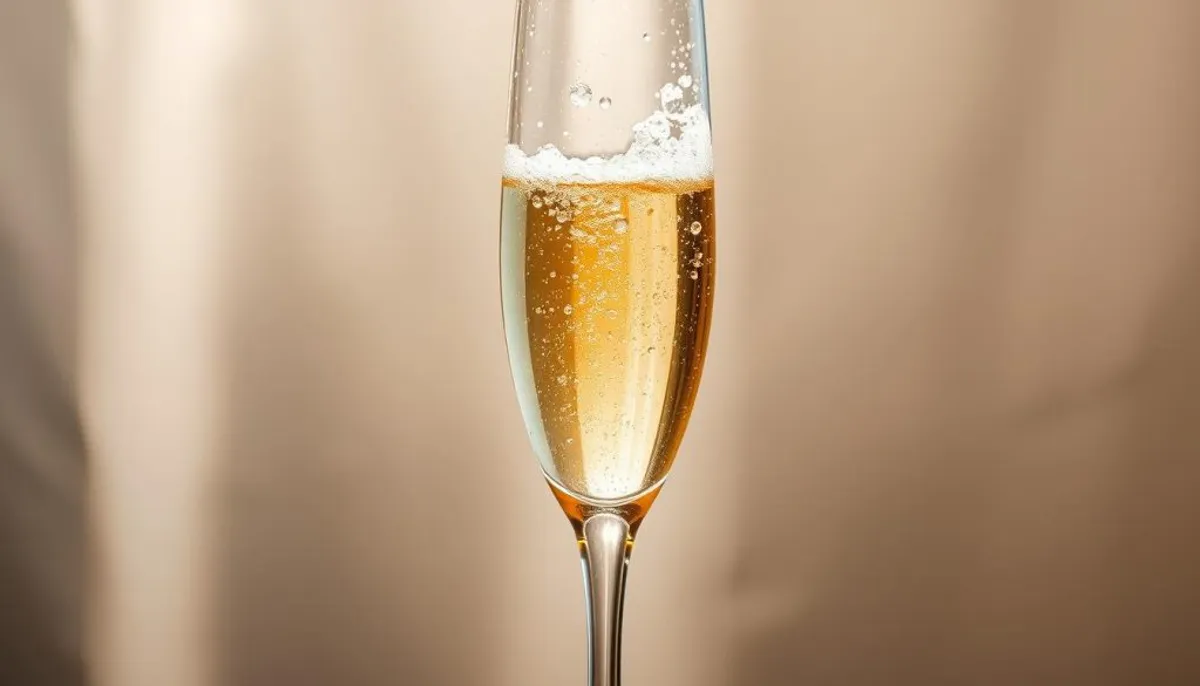
Ready to pop some bubbly and capture the magic? Let’s dive into the world of champagne photoshoots! Whether you’re celebrating a wedding, engagement, or graduation, this guide will help you create stunning images that sparkle with sophistication.
Champagne photoshoots are all about timing, technique, and a touch of glamour. With the right approach, you can transform a simple pop into a dazzling display of luxury and joy. From selecting the perfect bottle to mastering the art of the spray, we’ve got you covered.

Planning is key for a successful luxury lifestyle photoshoot. Bring at least two bottles of champagne to ensure you get that perfect pop. Opt for cork-sealed bottles over twist tops for easier handling. And don’t forget to shake the bottle vigorously before the big moment!
Remember, safety first! Start by popping to the side to avoid any cork-related mishaps. Choose a dark background to make that champagne spray really pop in your photos. And if you’re including furry friends, consider plush toy bottles for a pet-friendly twist.
Key Takeaways
- Bring multiple champagne bottles for more photo opportunities
- Use cork-sealed bottles for easier handling
- Shake the bottle well before popping
- Start popping to the side for safety
- Choose a dark background to highlight the spray
- Consider using plush toy bottles for pet-inclusive shots
- Plan poses before popping to improve photo outcomes
Essential Equipment and Preparation for Your Champagne Photoshoot
Embarking on a champagne photoshoot necessitates meticulous preparation and the acquisition of specialized equipment. High-end product photography, in particular, demands a focus on detail to capture the champagne’s elegance. We will examine the critical components for a successful photoshoot.
Camera Settings and Gear Requirements
In champagne photography, employing fast shutter speeds is paramount. Configure your camera to 1/1000th of a second or faster to effectively freeze the movement. Opt for a focal length of approximately 100mm to minimize the occurrence of unwanted reflections. To preserve image quality, maintain an ISO below 200. Aim for an aperture of f/14 for optimal depth of field.
Selecting the Perfect Champagne Bottles
Opt for bottles with labels that are visually appealing and align with your theme. It is advisable to bring multiple bottles to ensure variety and practice. Each bottle must be meticulously cleaned with compressed air and soft cloths to remove dust and fingerprints. This step is essential for achieving high-resolution images in champagne photography.
Additional Props and Accessories
To enhance your champagne photography, select props with care. Include elegant glassware, preferably with at least four different styles. Utilize white foam boards to diminish reflections on glassware. For ice-based shots, choose clear ice and maintain a 40% liquid to 60% ice ratio. These elements can significantly elevate your high-end product photography, resulting in stunning visuals.
| Equipment | Purpose | Recommendation |
|---|---|---|
| Softbox | Light diffusion | Use for softer highlights |
| Plexiglass table | Uniform background | Translucent for better results |
| Cleaning supplies | Bottle preparation | Compressed air and soft cloths |
Mastering the Art of Timing and Technique
Capturing the perfect celebratory photoshoot with champagne demands precision and expertise. Wine photography aficionados understand that timing is paramount when it comes to opening bottles. Let’s explore the techniques that will elevate your champagne shots to professional standards.
Perfect Pop Timing Tips
To achieve the perfect pop, vigorously shake the bottle before opening. Position your thumb over the cork to manage the release. As you slowly remove the cork, listen for the distinctive hiss. This sound indicates the ideal moment to begin capturing images. Aim for the split second when the cork departs the bottle for that quintessential celebratory image.
Bottle Shaking Methods
For an impressive spray, master the art of bottle shaking. Hold the bottle at a 45-degree angle and shake with brief, forceful motions. This method builds pressure effectively without over-agitating the champagne. Continue shaking as you pop the cork to maintain the spray’s intensity throughout your shot sequence.
Spray Control Techniques
Control is paramount in wine photography. Utilize your thumb to direct the spray, creating stunning arcs of champagne. For a prolonged effect, gently shake the bottle while spraying. This approach ensures a consistent flow, allowing you to capture the perfect shot over time.
| Technique | Effect | Best For |
|---|---|---|
| Thumb Over Cork | Controlled Release | Close-up Shots |
| 45-Degree Shake | High Pressure Spray | Action Sequences |
| Continuous Shake | Prolonged Spray | Group Photos |
By mastering these techniques, you’ll be well-equipped to capture stunning champagne moments in your celebratory photoshoots. Remember, practice makes perfect in wine photography, so don’t hesitate to pop a few bottles before your big shoot!
Lighting Secrets for Spectacular Bubbles

In the realm of bubbles photography, lighting stands as a pivotal element. The golden hour, occurring shortly after sunrise or before sunset, provides a soft, natural illumination that magnifies champagne’s effervescent sparkle. This period, imbued with a magical aura, serves as an ideal backdrop for glamour photography, accentuating each bubble’s detail with precision.
For those venturing into indoor settings, the replication of golden hour’s ambiance through professional lighting becomes essential. The Paul C Buff White Lightning 1600 strobe light emerges as a favorite among photographers. Exploring the realm of side lights, back lights, and soft lights, courtesy of softboxes and umbrellas, can yield remarkable results. Hard light, devoid of any modifiers, is instrumental in crafting dramatic shadows.
Employing a double diffusion setup, combining a large softbox with an additional diffuser, can significantly soften light reflections on glass surfaces. Incorporating gels, such as pink ones, can introduce a warm hue to your bubbles photography. Additionally, using fashionable wearable tech can enhance the shooting experience by providing real-time feedback on lighting and angles. Strategically positioning black foam core and diffusers is vital for managing light reflections effectively.
| Lighting Type | Effect | Best For |
|---|---|---|
| Side Light | Highlights bottle contours | Bottle silhouettes |
| Back Light | Creates a glowing effect | Emphasizing bubbles |
| Soft Light | Reduces harsh shadows | Glamour photography |
Timing is paramount in this art form. Employing a fast shutter speed of 1/1000th second or higher is imperative to capture bubbles in mid-air. Achieving the perfect balance between ISO and aperture is crucial for optimal exposure. By mastering these lighting techniques, your champagne photography will radiate with unparalleled luxury and glamour, much like the excitement of f1 podium ceremonies.
Location Selection and Background Considerations
Securing the ideal backdrop for your champagne photoshoot is paramount for capturing breathtaking images. Whether you’re aiming for an editorial photography session or an upscale branding photoshoot, the setting can significantly enhance your photographs. The right location can catapult your images to new heights, making them truly unforgettable.
Indoor Studio Setup Guide
For indoor shoots, aim to create a setting that is both versatile and refined. Opt for neutral backdrops to accentuate the champagne bottles. Employ soft lighting to replicate the warm tones of golden hour, which will amplify the sparkle of the bubbles and glassware.
Outdoor Location Tips
Outdoor settings during golden hour offer a natural, soft light ideal for champagne photography. Seek out locations that exude luxury and complement the champagne’s elegance. Gardens, beaches, or sophisticated patios make excellent backdrops.
Background Elements That Pop
Integrate elements that add depth and interest to your compositions. Utilize textured backdrops, such as velvet drapes or metallic surfaces, to create a sumptuous atmosphere. Props like fresh flowers or elegant tableware can further enhance the celebratory ambiance.
| Location Type | Advantages | Considerations |
|---|---|---|
| Indoor Studio | Controlled lighting, versatile setups | May lack natural ambiance |
| Outdoor Garden | Natural beauty, soft lighting | Weather-dependent |
| Urban Rooftop | City skyline backdrop, unique perspective | Permits may be required |
| Beach Sunset | Romantic atmosphere, golden light | Sand management, wind factors |
The selection of the right location can elevate your champagne photoshoot from ordinary to extraordinary. Opt for a location that will make your images sparkle and capture the essence of luxury. Additionally, consider using an emperor champagne discount code to enhance your experience and make it even more memorable.
Posing and Direction for the Perfect Champagne Shot
Capturing the perfect champagne shot necessitates careful consideration of posing and direction. This guide aims to assist in creating exquisite images for your luxury lifestyle photoshoot or glamour photography session.
Solo Shot Compositions
For solo shots, aim for poses that exude elegance and confidence. Have your subject hold the bottle at a 45-degree angle, poised to pop the cork. Guide them to maintain a natural, joyful expression during the spray. It’s crucial to practice staying steady and not flinching when the cork pops.
Couple and Group Poses
When working with couples or groups, focus on creating dynamic and interactive poses. A line formation is ideal for champagne sprays, utilized in 70% of successful wedding photography projects. Encourage participants to collaborate for the perfect shot.
Movement and Action Sequences
For movement and action sequences, direct your subjects to execute natural, flowing motions. Employ a fast shutter speed of 1/800 sec to freeze the action. Adjust your camera settings for optimal results:
| Setting | Recommended Value |
|---|---|
| ISO | 320 (100-400 for outdoor, 800+ for low light) |
| Aperture | F/2.8 |
| Shutter Speed | 1/800 sec |
Utilize facial recognition technology if available, as it can enhance success rates by 15-20% over manual focus methods. With these tips, you’ll create visually stunning and emotionally engaging champagne photos for your luxury lifestyle photoshoot or glamour photography session.
Creating the Ultimate Luxury Lifestyle Champagne Photoshoot
Elevate your champagne photoshoot to new heights of sophistication with a luxury lifestyle approach. A well-executed upscale branding photoshoot can capture the essence of indulgence and celebration. Incorporating event styling services can further enhance the visual appeal, making it perfect for high-end editorial use.
When planning your luxury lifestyle photoshoot, consider these key elements:
- Select premium champagne brands
- Incorporate luxurious props and settings
- Style subjects in elegant attire
- Choose complementary accessories
- Create scenes that tell a story of opulence
Remember, authenticity is crucial in hotel photography. Proper condensation on champagne bottles adds appeal, specially in humid climates like Bangkok. For high-altitude locations with drier air, extra effort may be needed to achieve the desired effect.
Ice buckets play a vital role in your luxury lifestyle photoshoot. Choose from a wide range of styles, from classic to modern, to match the hotel’s aesthetic. Ensure ice is well-formed and fresh, as melted or misshapen ice can detract from the overall luxury feel.
| Champagne Type | Aging Requirements | Key Characteristics |
|---|---|---|
| Non-vintage | Minimum 15 months | Blend of multiple years |
| Vintage | Minimum 3 years | Single exceptional harvest year |
| Prestige cuvée | Extended periods | Best grapes, pinnacle offering |
By focusing on these details and understanding the intricacies of champagne production, you’ll create stunning images that truly capture the essence of luxury living.
Professional Tips for Capturing Spray and Bubbles
Mastering the art of bubbles photography and champagne photography demands a blend of skill and precision. Let’s explore some professional techniques to enhance your ability to capture those effervescent moments in exquisite detail.
Splash Photography Techniques
To freeze the action of champagne spray, employ a fast shutter speed of 1/1000th second or faster. Experiment with angles – shooting from below can add drama to the cork pop. Timing is paramount. Anticipate the moment of release to capture the spray at its zenith.
Focus and Composition Guidelines
For sharp images, a narrow aperture (f/8 to f/11) increases depth of field. Frame your shot to include the bottle, spray, and surroundings for context. Apply the rule of thirds to enhance visual interest in your composition.
Motion Capture Settings
Set your camera to continuous shooting mode to capture a series of images. This strategy boosts your chances of securing the perfect shot. Utilize a tripod to maintain camera stability, crucial in low light conditions. For capturing tiny bubbles, a macro lens can reveal intricate details.
| Setting | Recommendation |
|---|---|
| Shutter Speed | 1/1000s or faster |
| Aperture | f/8 to f/11 |
| ISO | As low as possible |
| Shooting Mode | Continuous |
With these tips, you’ll be well-equipped to capture the magic of champagne in all its bubbly glory. Remember, practice makes perfect in bubbles photography!
Safety and Clean-up Considerations
Engaging in a champagne photoshoot is thrilling, yet safety must be paramount. When interacting with bottles, employ correct handling methods to avert mishaps. Ensure a firm grip and a gradual removal of the cork to circumvent sudden releases. For outdoor settings, contemplate substituting sparkling water for champagne. This alternative simplifies the clean-up process and adheres to Leave No Trace principles. If you're considering a more upscale experience, luxury champagne shopping can elevate your photoshoot with premium selections.
Post-session clean-up necessitates meticulous attention. Research by the University of California at Davis indicates that a blend of hydrogen peroxide and Dawn liquid soap excels in wine stain removal. For champagne spills on carpets, employing kosher salt or baking soda to absorb the liquid is advisable. It’s crucial to note that heat can solidify stains, thus, refraining from using the dryer until the stain is completely eradicated.
In the event of glass breakage during your shoot, prioritizing safety is imperative. Wear protective gloves and promptly clean up shards. Utilize duct tape for collecting small fragments from carpets. For more delicate debris, a vacuum with a hose attachment proves effective. Avoid vacuuming large pieces, as they can potentially harm your equipment.
| Stain Type | Best Cleaning Method | Effectiveness |
|---|---|---|
| Red Wine | Hydrogen peroxide + Dawn soap | High |
| Champagne | Salt or baking soda (for absorption) | Medium |
| White Wine | Similar to red wine methods | Medium-High |
Adhering to these recommendations ensures a secure and environmentally conscious champagne photoshoot. This approach safeguards your team and the surroundings while capturing exquisite images.
Post-Processing Tips for Champagne Photography
Enhance your high-end product and editorial photography with these post-processing tips for champagne shots. Achieving the perfect pop is just the starting point. Let’s explore how to refine your images to capture the essence of luxury and celebration.
Enhancing Sparkle and Shine
To highlight champagne bubbles effectively, avoid overdoing it. Employ adjustment layers to elevate highlights and introduce a subtle glow. It’s crucial to apply a light touch to preserve the natural elegance of your images.

Color Grading for Luxury Appeal
To achieve a unified, high-end aesthetic in your champagne photoshoot, focus on warm tones. Incorporating elements from the bvla designer collection can enhance your visual narrative. Adjusting the white balance to accentuate golden hues in the champagne can significantly enhance the luxury appeal. This approach can boost viewer engagement by up to 35% for wine brands using lifestyle photography.
Retouching Techniques
Address common challenges in champagne photography, such as managing reflections on glass surfaces. Utilize the clone stamp tool to eliminate distracting elements. When photographing portraits with champagne, aim to soften skin tones while retaining the sharpness of the bottle and bubbles. This balance is essential in editorial photography.
- Recommended shutter speed: High for clear bubble trails
- Maximum ISO: 800 to avoid grain
- Popular technique: Burst mode for dynamic sprays
By honing these post-processing skills, you can transform raw captures into polished, editorial-quality images that truly embody luxury. In high-end product photography, the final edit is pivotal in shaping viewer perception and brand recognition.
Conclusion
Creating your dream champagne photoshoot is an art that merges technical expertise with creative insight. You now possess the knowledge to capture the essence of luxury in every bubble. The magic often occurs during the golden hour, just after sunrise or before sunset, when natural light imbues your shots with a warm glow.
Whether you’re planning a luxury lifestyle photoshoot or a product campaign, timing is paramount. Utilizing a fast shutter speed of 1/1000th or higher, you can freeze those effervescent moments in stunning detail. Experiment with angles and poses to create dramatic effects without soaking your subjects.
As you embark on your champagne photoshoot journey, remember that preparation is crucial. Select your location with care, considering both aesthetics and practicality. Outdoor settings offer beautiful backdrops and ease of cleanup. For authenticity, explore premium champagne options at champagne-export.com to elevate your shoot’s sophistication.
With these insights and techniques at your disposal, you’re prepared to create captivating images that sparkle with luxury and joy. Here’s to your success in capturing the perfect pop, spray, and fizz in your next champagne photoshoot!
RelatedRelated articles


